Sewing ribbons onto ballet shoes is a common practice to help keep the shoes secure on a dancer’s feet during performances and practice. Here’s a step-by-step guide on how to sew ribbons onto ballet shoes:
**Materials you’ll need:**
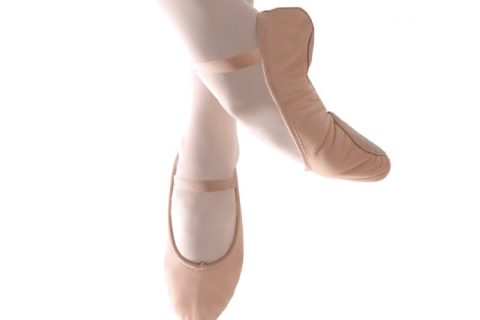
1. Ballet shoes (pointe shoes or soft ballet shoes)
2. Ribbons (usually satin ribbons are used)
3. Sewing needle
4. Matching thread (usually the color of the shoes)
5. Scissors
6. Measuring tape or ruler
7. Pins (optional)
**Step-by-step process:**
1. **Measure the ribbons:** Begin by measuring the ribbons against your ankle and lower leg to determine the appropriate length. Cut two equal lengths of ribbon for each shoe. Or you can purchase these pre-cut to the correct length. (We stock these). A typical length is around 45-54 inches (114-137 cm) for each ribbon, but this can vary based on personal preference and shoe size.
2. **Prepare the ribbons:** To prevent fraying, you can either use a lighter to carefully singe the cut ends of the ribbons or apply a small amount of clear nail polish.
3. **Locate the proper placement:** Wear your ballet shoes and position them on your feet. Locate the areas on the inside and outside of each shoe where you’ll attach the ribbons. For pointe shoes, the ribbons are usually attached to the sides near the arch, and for soft ballet shoes, they are typically attached on either side of the ankle opening.
4. **Pin the ribbons (optional):** If you find it helpful, you can use pins to temporarily secure the ribbons in place on the shoes. This can make the sewing process a bit easier.
5. **Thread the needle:** Thread your needle with a double strand of thread (to make it stronger) and tie a knot at the end.
6. **Start sewing:** Begin sewing the ribbons onto the first shoe. Insert the needle from the inside of the shoe out, making sure the knot is secure inside the shoe. If using pins, you can remove them as you go along.
7. **Stitching technique:** Use a strong, even stitching technique, such as a whip stitch or a blanket stitch, to attach the ribbons securely. Take small, regular stitches along the edge of the ribbon, going through both the ribbon and the fabric of the shoe. Avoid stitching through the drawstring or any other parts inside the shoe.
8. **Even tension:** Keep the tension even as you sew to ensure the ribbons are firmly attached but not too tight.
9. **Reinforce the ends:** When you reach the end of the ribbon, sew several extra stitches to reinforce the attachment point. You can even go back along the ribbon’s edge to strengthen the whole attachment line.
10. **Repeat for the other shoe:** Once you finish sewing the ribbons on one shoe, repeat the process for the other shoe, making sure the placement matches.
11. **Check for symmetry:** Once both ribbons are sewn on, double-check that they are symmetrical and at the same height on each shoe.
12. **Trim the thread:** Cut the thread, leaving a small tail, and secure it with a knot or two. You can push the ends of the thread inside the shoe to hide them.
And that’s it! Now you have successfully sewn ribbons onto your ballet shoes, and they are ready for you to tie securely around your ankles. Remember to adjust the tightness of the ribbons according to your comfort and dance needs. Happy dancing!


Leave a comment
You must be logged in to post a comment.